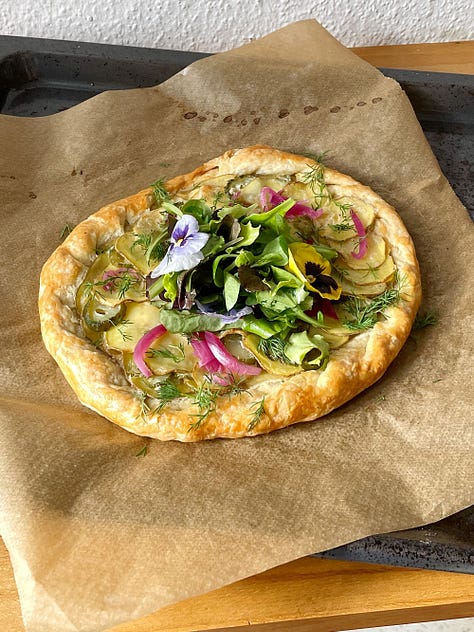


i’ve made many pies and tarts in my life. many shortcrust (or pate brisée) doughs claim to be the best or the flakiest or the easiest and often tout some great secret or trick to making it so, whether it’s the technique (smear the butter into the dough) or an additional ingredient (add vodka). out of all the ones i’ve tried, i found this one by natasha pickowicz for nyt cooking to be my favorite and, with a few small tweaks, have relied on it as my all purpose tart/pie/galette dough, sweet or savory, since. once you make this version, you’ll see that there’s no need to be intimidated by these doughs and you won’t be fooled by recipes out there touting unnecessary tricks.
i try to describe the textures of the dough as best i can so you feel guided and know what to look for along the way. feel free to also halve this recipe if you just want to make one crust to use right away.
635 grams all-purpose flour
30 grams white sugar
5 grams kosher salt
340 grams unsalted butter, cold
200 grams water, cold
add flour, sugar, and salt to the largest bowl you have and mix to combine. carefully grate cold butter on a large box grater into the flour mixture; once you can’t grate it anymore because you might get your fingers, just break up the end butter nub as much as possible and add it in.
gently toss the butter in the flour with your hands, basically just reaching in and loosely tossing the mixture until the butter pieces are generally separated from each other and well covered in the flour. no need to press or squeeze the mixture, just let it run through your fingers. if you feel like the butter is getting too soft at this point, let it chill in the fridge for 15 minutes before continuing on.
pour a little bit of the water into the bowl (2 - 3 tablespoons at a time) using your hands again to gently and loosely toss the mixture together. repeat until you use all the water and have a crumbly dough that holds together when you squeeze it gently in your fist. it will look dry, but trust it, the dough will continue to hydrate as it rests in the fridge.
as evenly as you can (i like to use a scale here), divide the dough onto 2 or 4 pieces of plastic wrap; use 2 if you want large 12 inch galettes (about 600 grams of dough) or 4 if you want mini 6 inch galettes (about 300 grams of dough). wrap the dough up into the plastic wrap, then use a rolling pin to gently roll and combine the dough into a square within the plastic wrap.
transfer the dough you want to use right away into the fridge for at least 3 hours before using; it can stay in the fridge for up to 5 days. transfer the dough you want to save for later directly into the freezer; making sure to label and date.
before using dough from the freezer, let it thaw in the fridge overnight. before rolling out dough from the fridge, let the dough sit for at least 5 - 10 minutes, sprinkling both the work surface and dough with flour before rolling it out.
*if you find the dough too dry even after resting in the fridge, “laminate” the dough as described below, pressing the drier parts back into the dough as you work.
*you can also “laminate” the dough before using if you want to create an even flakier crust with more visible layers: roll it out until about an inch thick, pressing any drier parts back into the dough, then fold the edges in toward the center like a 3-fold pamphlet. roll it again until about an inch thick, then turn 90 degrees and fold the edges in toward the center again. roll it out just into the shape you started with, then chill for 30 minutes before using or laminating and resting once more.


